Artisan Bread
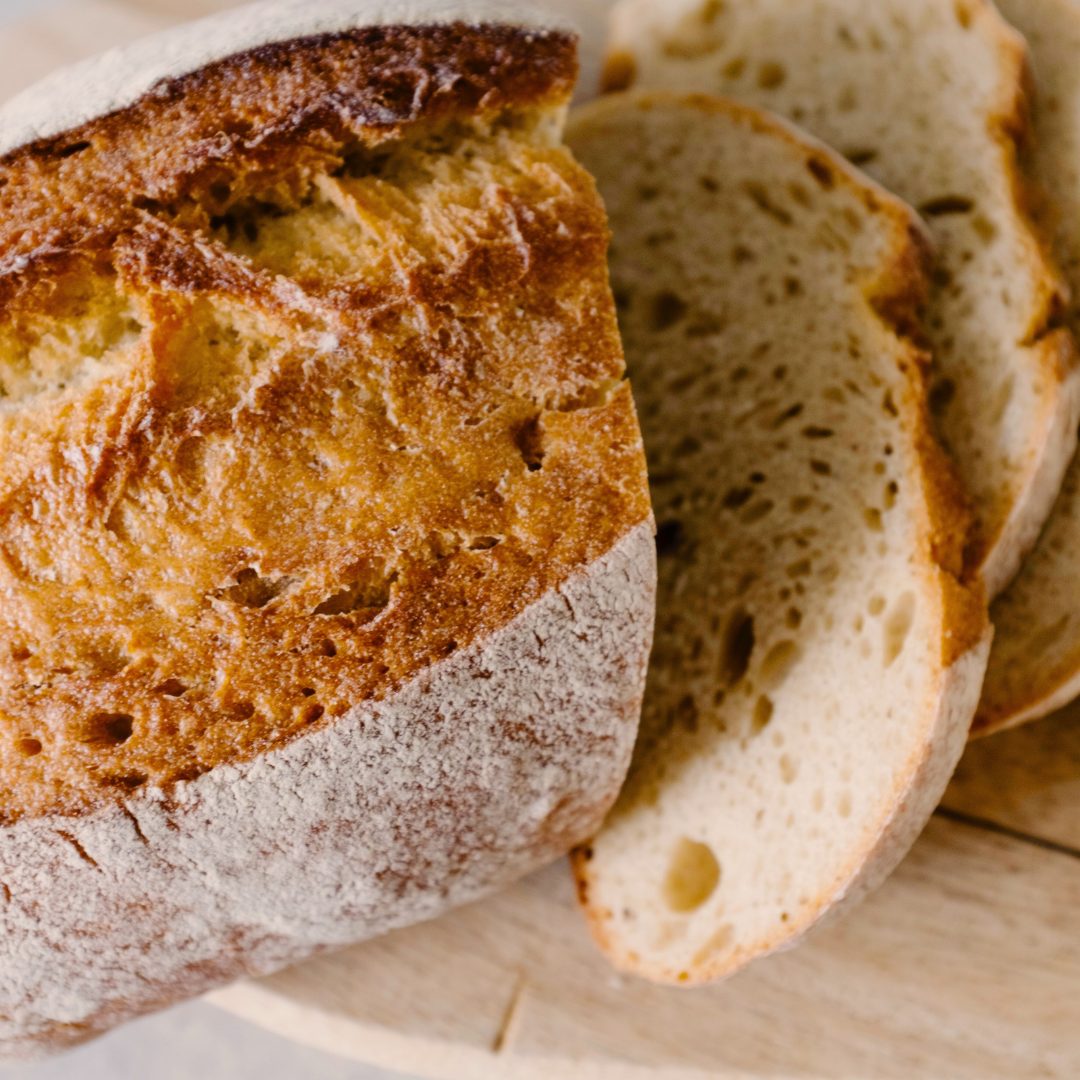
It’s World Bread Day! Celebrate in the kitchen with us making your very own loaf of artisan bread to pair perfectly with your favorite soup this fall.
Homemade Artisan Bread
Adapted from Master Recipe from Artisan Bread in Five Minutes a Day
Ingredients
- 1 1/2 cups lukewarm water
- 1 tablespoon granulated yeast (you can use any kind of yeast including: instant, rapid rise, bread machine, active dry or cake yeast.
- 1 tablespoon Morton’s Kosher Salt (adjust to suit your taste or eliminate it all together.)
- 3 1/2 cups all-purpose flour
Mixing the Dough
- In a 5 or 6 quart bowl or lidded Food Storage Container, dump in the water and add the yeast and salt. Because we are mixing in the flour so quickly it doesn’t matter that the salt and yeast are thrown in together.
- Dump in the flour all at once and stir with a long handled wooden spoon.
- Stir it until all the flour is incorporated into the dough, it will be a wet rough dough.
- Put the lid on the container, but do not snap it shut. You want the gases from the yeast to escape.
- Allow the dough to sit at room temperature for about 2 hours to rise. When you first mix the dough, it will not occupy much of the container.
- But, after the initial 2-hour rise, it will pretty much fill it. DO NOT PUNCH DOWN THE DOUGH! Just let it settle by itself.
- The dough will be flat on the top and some of the bubbles may even appear to be popping. (If you intend to refrigerate the dough after this stage it can be placed in the refrigerator even if the dough is not perfectly flat. The yeast will continue to work even in the refrigerator.) The dough can be used right after the initial 2-hour rise, but it is much easier to handle when it is chilled. It is intended for refrigeration and use over the next two weeks, ready for you anytime. The flavor will deepen over that time, developing sourdough characteristics.
Making the Bread
- The next day when you pull the dough out of the refrigerator you will notice that it has collapsed, and this is totally normal for our dough. It will never rise again in the container.
- Dust the surface of the dough with a little flour, just enough to prevent it from sticking to your hands when you reach in to pull a piece out.
- You should notice that the dough has a lot of stretch once it has rested. (If your dough breaks off instead of stretching like this your dough is probably too dry and you can just add a few tablespoons of water and let it sit again until the dough absorbs the additional water.)
- Turn the dough onto a generously floured surface and form the dough into a ball. Place the ball on a sheet of parchment paper… (or rest it on a generous layer of corn meal on top of a pizza peel.)
- Let the dough rest for at least 40 minutes, (although letting it go 60 or even 90 minutes will give you a more open hole structure in the interior of the loaf. This may also improve the look of your loaf and prevent it from splitting on the bottom.) You will notice that the loaf does not rise much during this rest, in fact it may just spread sideways, this is normal.
- Preheat the oven to 450 degrees with a Baking Stone or baking sheet on the center rack, with a metal broiler tray on the bottom (never use a glass vessel for this or it will shatter), which will be used to produce steam. (The tray needs to be at least 4 or 5 inches away from your stone to prevent it from cracking.) (or Cast Iron Pizza Pan – which will never crack and conducts heat really well. Be careful to dry it after washing rinsing with water or it will rust)
- Cut the loaf with 1/4-inch slashes using a serrated knife. (If your slashes are too shallow you will end up with an oddly shaped loaf and prevent it from splitting on the bottom.)
Baking the Bread
- Slide the loaf into the oven onto the preheated stone or baking sheet and add a cup of hot water to the broiler tray. Bake the bread for 30-35 minutes or until a deep brown color. As the bread bakes you should notice a nice oven spring in the dough. This is where the dough rises.
- If you used parchment paper, you will want to remove it after about 20-25 minutes to crisp up the bottom crust. Continue baking the loaf directly on the stone/baking pan for the last 5-10 minutes.
- Allow the loaf to cool on a rack until it is room temperature. If you cut into a loaf before it is cooled, you will have a tough crust and a gummy interior. It is hard to wait, but you will be happy you did! Make sure you have a nice sharp Bread Knife that will not crush the bread as you cut. Or you can tear it apart.
- If you have any leftover bread just let it sit, uncovered on the cutting board or counter with the cut side down. If you cover a bread that has a crust it will get soggy.